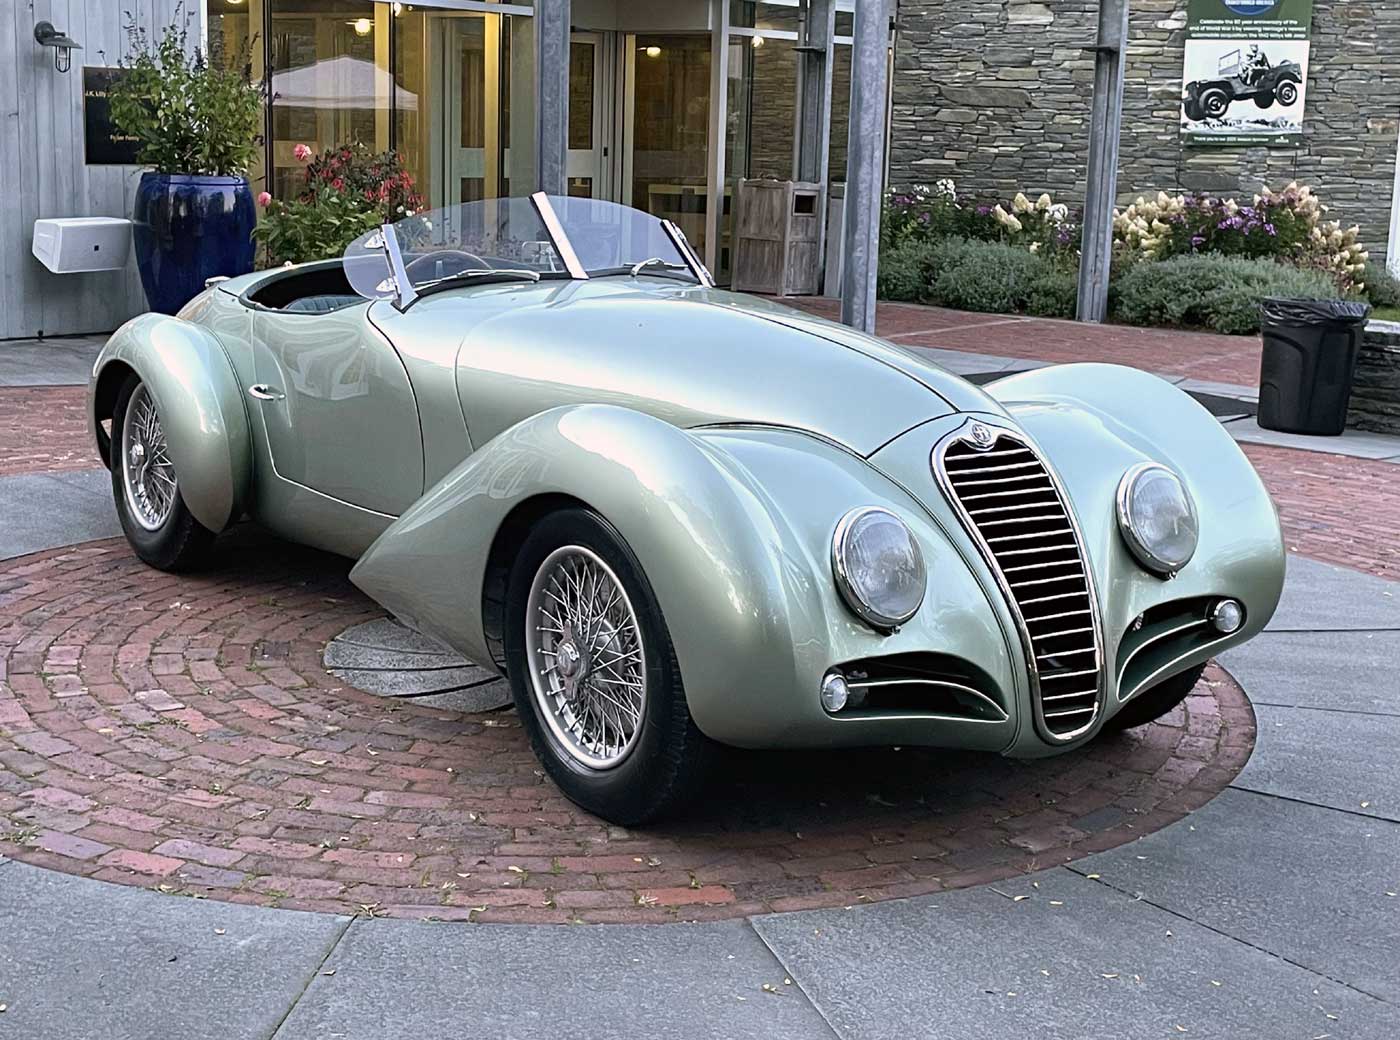
This is number 10 in a series of articles about the design and construction of Paul Wilson’s very special Alfa 6C2500.
Story and photos by Paul Wilson
I wrote this, looked at it the next day, and nearly threw it away. Who needs to hear about picky mechanical issues in restoring a rare car? If after reading it, you share this thought, I understand.
But then I realized that such a narrative fills an information gap. All most owners get is a gigantic bill, with hard-to-believe specifics: “At $150 an hour, you took two days to fit the hood???” The other side of the story rarely appears in print. I’m haunted by the feeling that True Experts aren’t delayed or puzzled by issues that I struggle with. But it’s likely that my experience is typical. So here’s more about what kept me awake at night.
Not only did I promise to bring my Alfa roadster to the Lime Rock show, but I also agreed to give a picture/talk on how I made it–logically concluding with its triumphant completion. It was far from finished, of course, but I still had a month. Four whole weeks. It shouldn’t take that long, I foolishly thought.
I measured the engine before making the body, but then it went off to the machine shop. And the carbs, headers, fuel pump, distributor–all kinds of things added later stick out. How far? And where? Time after time, “will it fit?” was a question I lost sleep over. The accelerator linkage, for example, connected down to a pivot on the right side of the engine.
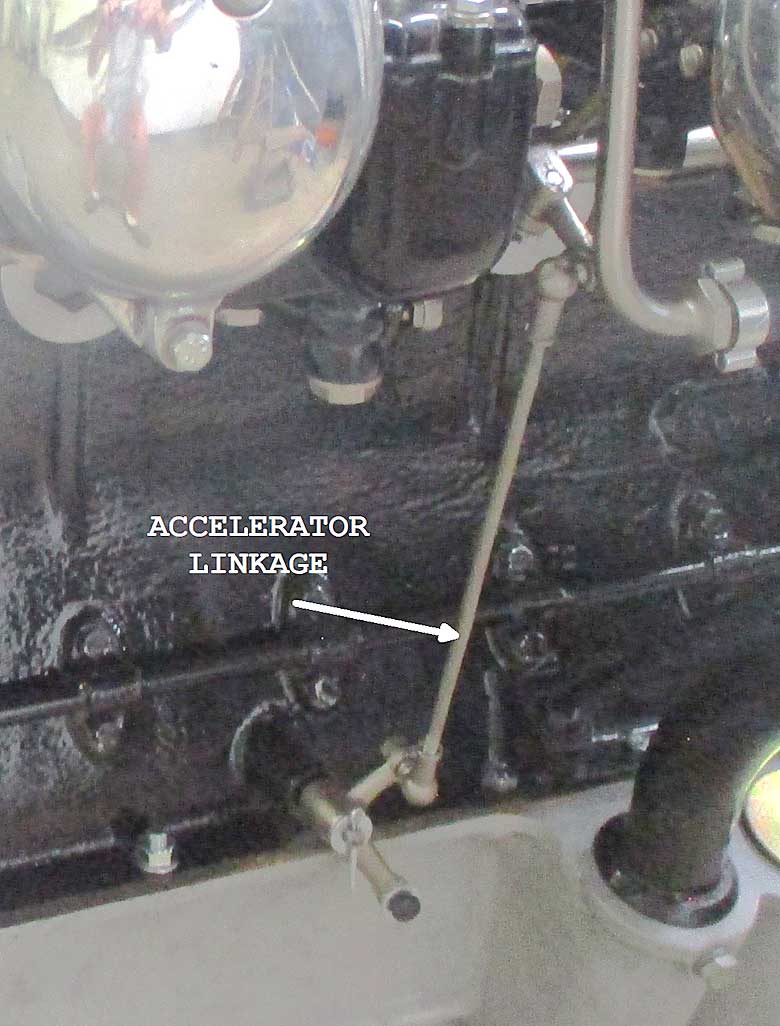
Not too clear, but one can see the carb linkage at the bottom; when it pulls to the left (back to the linkage arm), the rod moves down.
A rod attached to it pulled back to open the carbs. But where, exactly, when the engine went in, was the position of this rod? How far did it travel? How long should the arm be that pulled it back? Exactly how many inches does your foot push down, to floor the accelerator? How strong should the spring be? Where should it attach? The clutch linkage posed similar questions. Did you know how far the clutch lever moves when you push in the pedal? (Answer: much less than you’d expect.)
To have room to work, I made the clutch and accelerator linkages before putting the engine in.
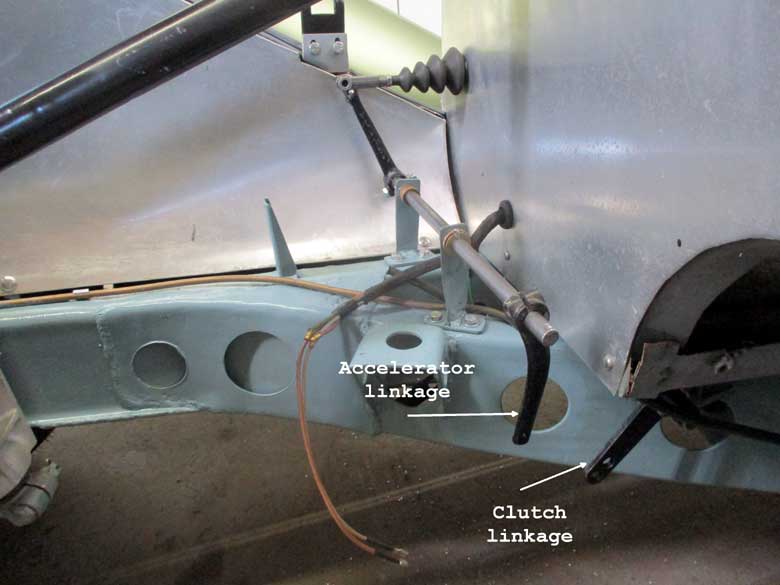
For the clutch and accelerator linkages, I made wild guesses on the relevant questions, and hoped for the best.
With help from a friend, I put the engine in. It wasn’t that simple, of course. We found that it wouldn’t fit with the headers attached, so they came off. But our second try was successful. When the driveshaft mated with the gearbox it scraped the cockpit floor, but tightening the engine mount bolts raised it enough so it cleared. A simple link connected my premade clutch arm with the one on the bellhousing.
But celebrations were premature. It was obvious that the dipstick would interfere with the inner fender. Fixing that was easy. But the oil filler was not. There didn’t seem to be room for it anywhere. I finally squeezed it into a space between the front carb and the fuel pump. The pipe made a series of zigzags, up past this, a bit forward to clear that. It took me a whole day to modify it. Such contortions have an obvious non-factory look but luckily the pipe is barely visible.
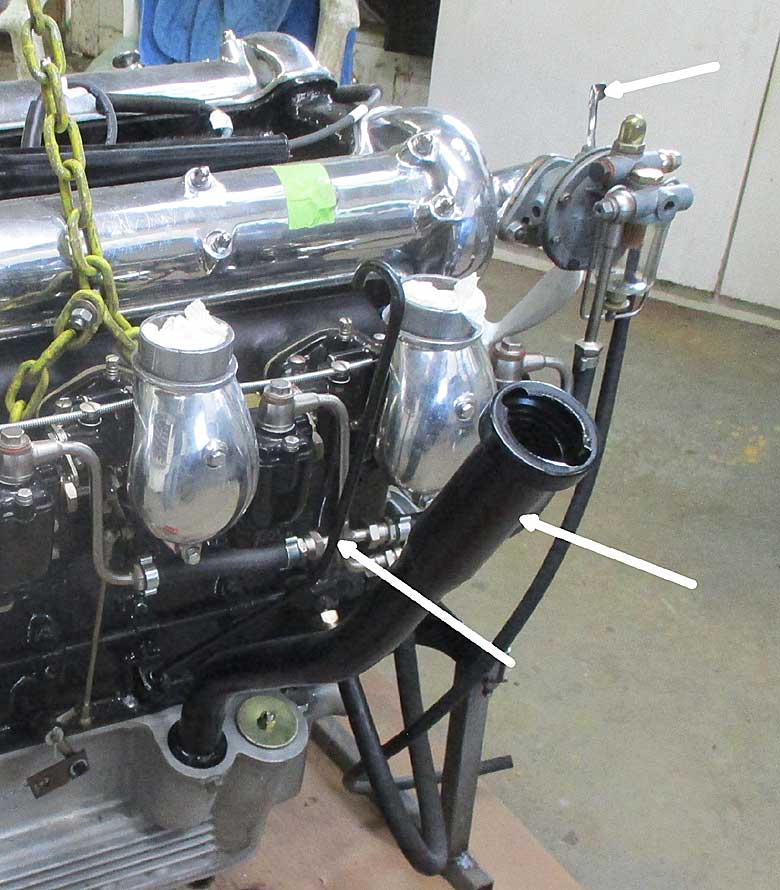
Both the dipstick and the oil filler had to be modified to clear the inner fender.
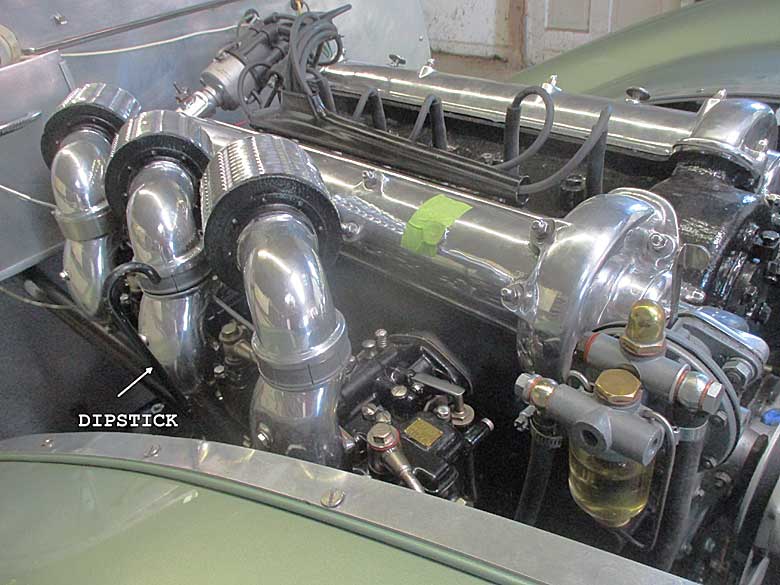
Dipstick new position.
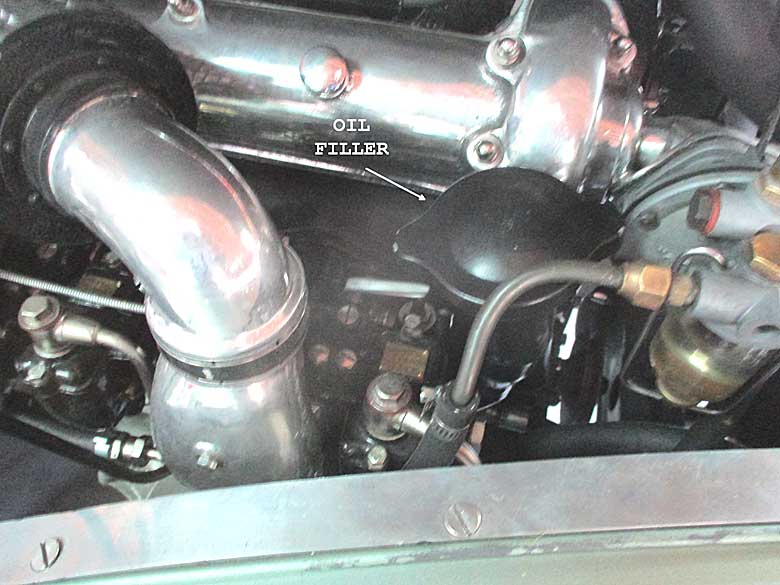
Oil filler with cap now fit between the carb and the mechanical fuel pump.
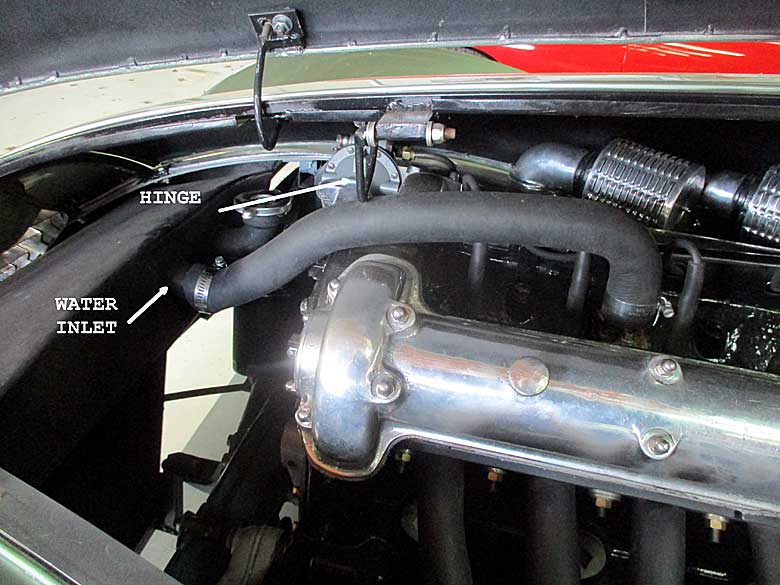
Upper hose and radiator would need further modifications but held water for the time being.
Next came the radiator, custom-made for dimensions estimated before the body was even built. It fit the space perfectly. But the top inlet interfered with the fan. And leaning the radiator backwards pointed the inlet downwards, not up, to line up with the upper hose. I took off the fan, and rigged an awkward hose connection. The radiator would need modification, but for now, it held water.
I also worried about clearance under the hood. A lever on the fuel pump stuck up just where the hood sloped down. The distributor was vertically mounted. A cooling hose coming from the top of the head might interfere with the hood hinges. When I made the hood I had to guess if everything would fit underneath. And now it was beautifully painted, impossible to modify. I held my breath as we carefully placed it in position. At least this time, my calculations were correct (or I was just lucky). Nothing interfered except the distributor. I had measured for the original type, but couldn’t get that one rebuilt (the cap was listed at $1000 until it was no longer available). My substitute was too tall, but the bolt holes in the cast base allowed it to be turned sideways, where it cleared.
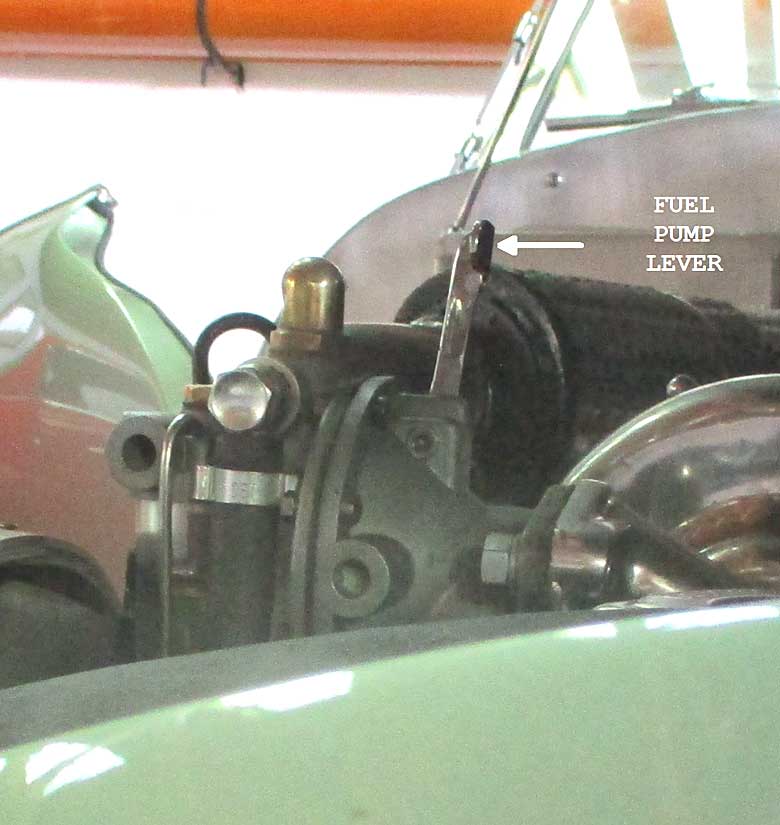
Fuel pump lever just made it under the hood. This unusual device serves as a manual priming pump.
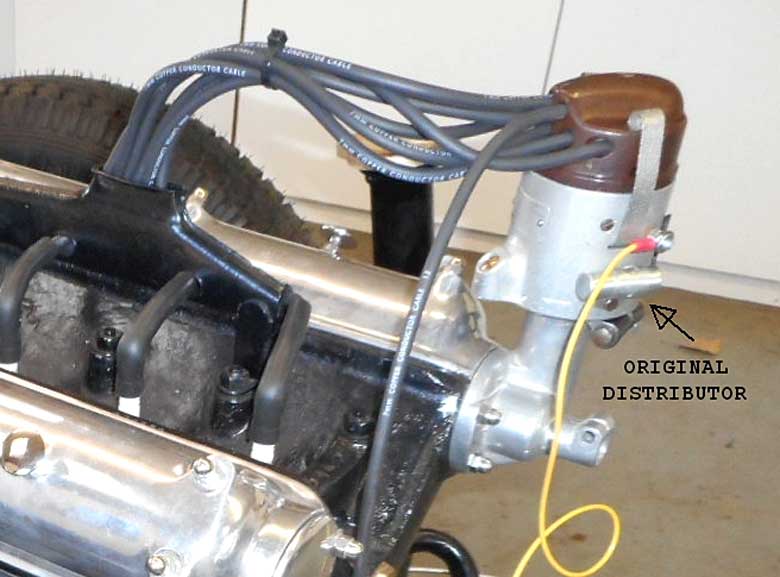
Original distributor (seen here as fitted to the engine in the Wilson Coupe) was too tall for the racy new bodywork.
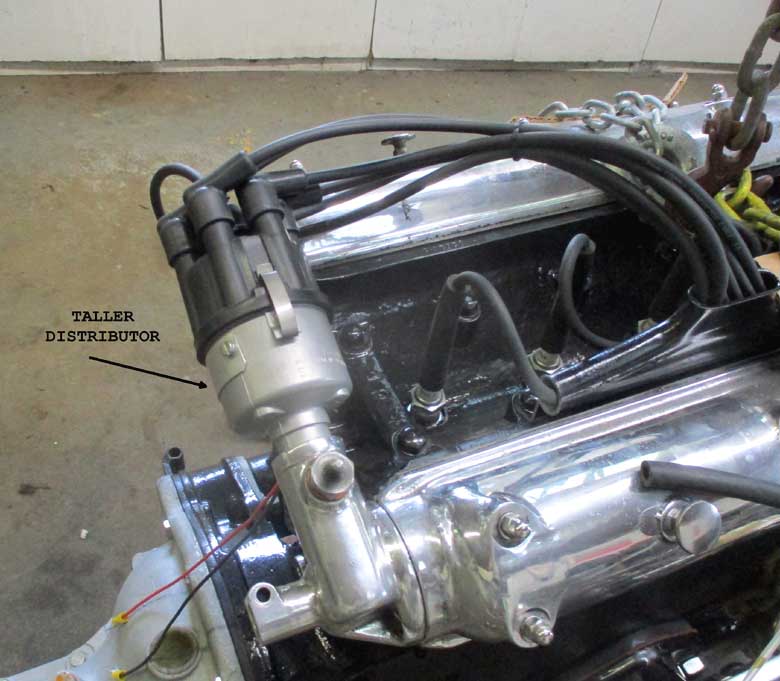
New distributor, with a shorter distributor cap, cleared when turned sideways.
The engine ran fine on the test stand, but installed in the car, it had no oil pressure. What had changed? I had connected an external oil filter, but refitting the bypass it had on the stand made no difference. I had drained the oil because it leaked out the rear seal when the engine was tipped up during installation (a scroll seal only works when the engine runs). But I had refilled it. Finally I tried pouring oil down the filter hose, pushing oil backwards through the system, hoping to eliminate the air pocket keeping the pump from working. That succeeded. I’m not sure why.
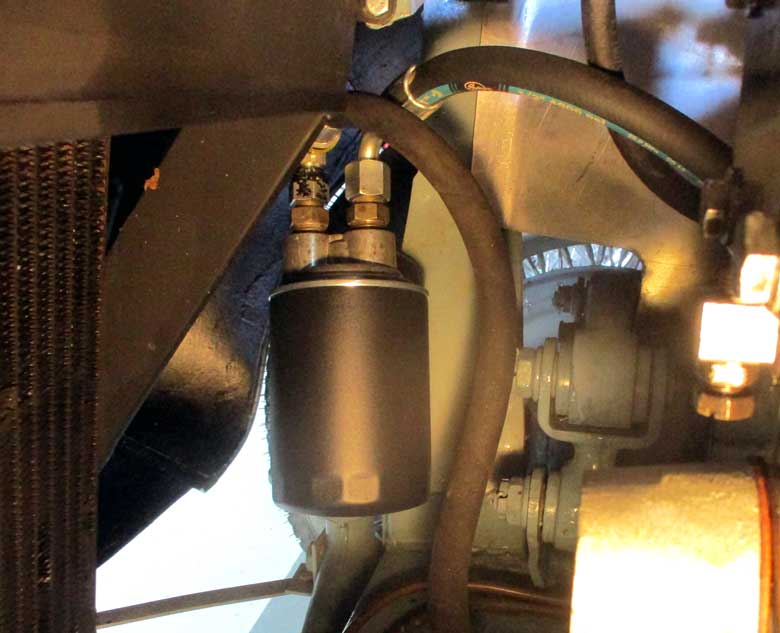
New oil filter in place but still no oil pressure. Why not? An air pocket?
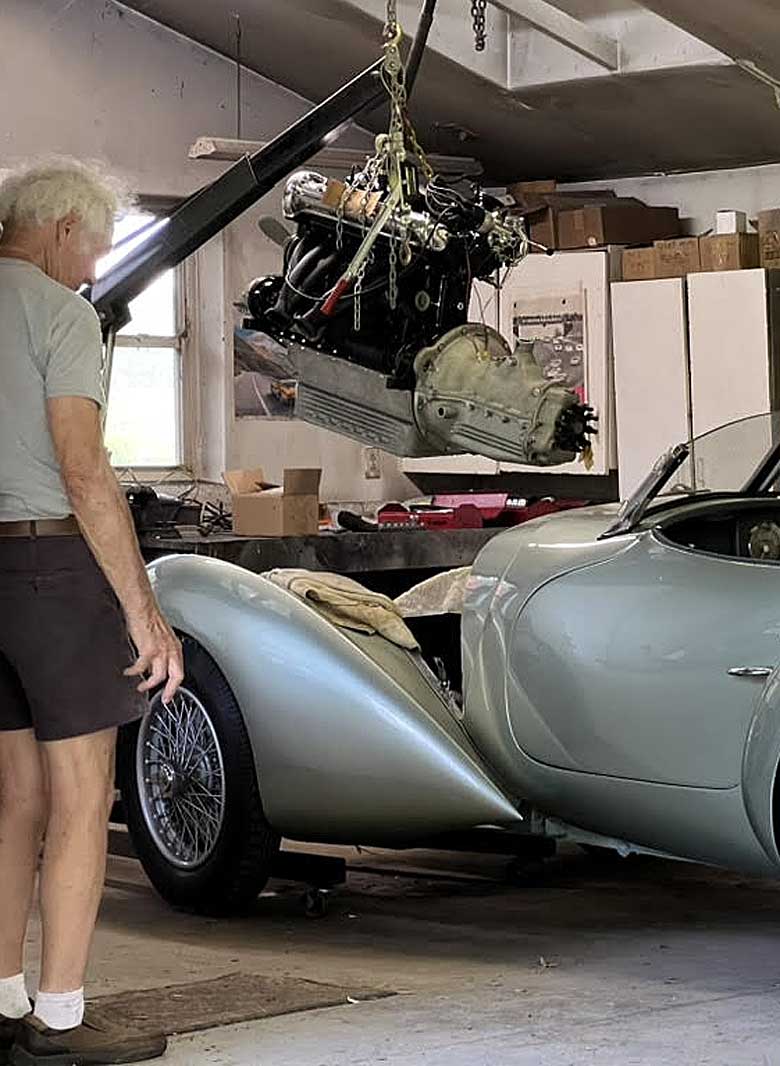
Did you know that a scroll seal only seals when the engine is running? And it leaks oil onto the clutch if tilted.
Then I pushed on the clutch pedal. It didn’t move. I pushed harder. Then I pushed really hard, and the linkage broke. No amount of force could move the lever to the throwout bearing. I made a stronger linkage (two days’ work). It broke too. This was a serious problem. Without a clutch, the car was undriveable. And the engine had to come out again, to reveal the problem.
Sitting again on my garage floor, all the clutch parts looked new and clean. It was a modern diaphragm clutch kit, with the pressure plate, disc, and throwout bearing designed to work together. Why didn’t they? I took all the pieces to the machine shop that did the engine, hoping they would find something I didn’t see. They didn’t.
At this point it was obvious that the car would not be ready for the show. I sent an apologetic message to the organizer, suggesting that maybe it could be shown in some kind of “display only” category, as a non-runner. He didn’t answer.
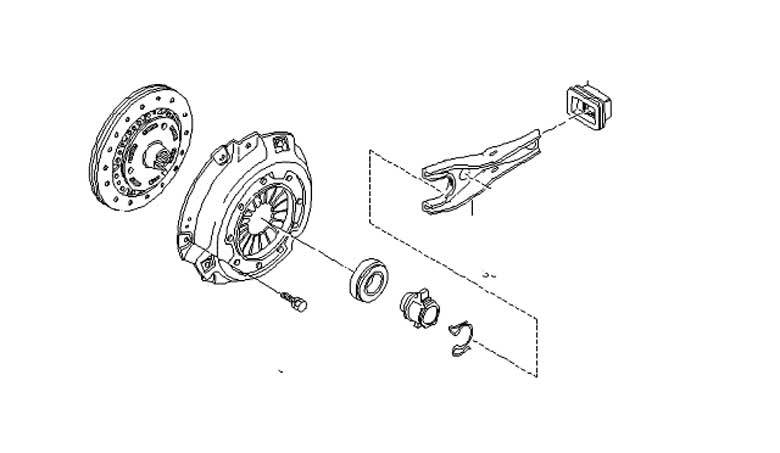
The biggest riddle of all. The problem could not be seen, only imagined. The throwout bearing was pressing into the spring finger hole.
Lying sleepless in bed, I thought of another possibility. I was using the original flywheel. Maybe the clutch parts were a mismatch for it? This, it turned out, was the answer. Many flywheels have a step, so the contact face is higher than where the pressure plate bolts on. Or the disc is thicker. Either way, bolting on the pressure plate compresses the springs, making the central hole smaller as the fingers move in. The Alfa flywheel was flat, making the central hole so big that the throwout bearing went into it, pressing the fingers outward, not forward. I got a thicker disc, and it worked.
Completing the exhaust system, connecting the headers with mufflers and tailpipes, was the last big job before the car would be driveable, and a local shop promised to do it. But then they put me off for a week. Then another. Finally, six days before I had to leave, they took it. And in just two days, they brought it back. I was delighted until they admitted the job wasn’t finished–a meter-long section in each pipe was missing. Frantically I set to work with my own crude pipe bender, welding the last joint the very day the car had to go into the trailer. I managed to drive it around my yard, perhaps 200 meters. There was a clanking underneath–driveshaft? Negative camber in the rear caused scrub, but I didn’t have time to adjust the ride height. A dozen major problems might have been found and fixed if I’d had even another day, but I didn’t. Off we went to the show.
On the morning of the show, it started, and drove to its designated spot. It looked beautiful, and was much admired. So far, so good. But then it won a prize–for most entrants, a happy moment, for me, a nightmare. Now it would have to drive across the stage, before a big audience. First it wouldn’t start. It cranked and cranked, and finally we realized that, parked on a hill, there wasn’t enough fuel in the tank to reach the pickup. Someone rushed for a fuel can. Then it started, and I drove it to the staging area. But then, waiting in line, it quit again. And by this time, the battery was dead. Again the kind organizers rose to the occasion. A golf cart appeared, a tow rope was attached, and I was pulled to the stage to accept the prize.
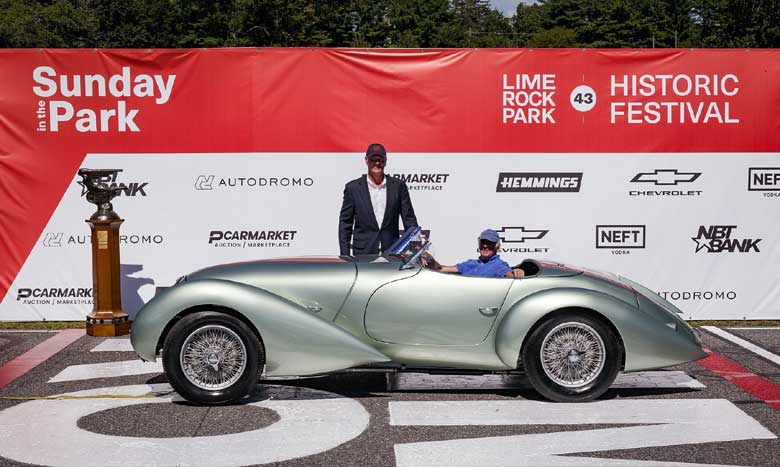
Made it to the show with no time to spare. Note the tow rope.
Was it a triumph, or a humiliation? Both, I guess, but at the time it felt much more like the latter.
Moral of the story: whatever wild estimate you make for the time needed to do a major restoration, it’s likely to be laughably less than what’s actually needed. If you’re an elderly amateur working in his garage, not a team of professionals, it takes even longer, though at least those endless hours don’t generate endless huge bills.
This is part 10 in a series of articles by Paul Wilson. Click here for Part 9 and links to Parts 1-8.
What a story! Most people would have given up, especially me.
Shaking my head in amazement. Can’t imagine having to create, on the fly, so many convoluted solutions. Huge congrats to Paul Wilson. (Say….have you got any spare time???), as I sit between my Series 1, Stage 3, 1960 Lotus Elite historic racer…with it’s newest problem of a catastrophic starter failure…and my 1958 Fiat Abarth 750 GT Zagato, also an historic racer at Sebring, among others, which has a missing component to open the passenger door which our handyman took to fabricate a new one…and has disappeared with the original component…and the new component.
And kids today look at their phones ? Congratulations Mr Wilson on showing just what can be achieved with a little preservation. Bring back shop class.
Thank you for sharing your process in building this beautiful car, and what a beautiful car it is.
It’s very rare to find content like this. Sadly, many of these cars were not built by their owners, and in fact many of their owners could not build them even if they wanted. There are some interesting demographics at work in this current car culture. The value of them makes them only available to a strata of individuals with high net worth, and no judgement intended, but those individuals usually come from careers which neither allowed them the time or the inclination to work on their own vehicles.
Sadder still is that for those of us who do our own work, the project management, wrenching, and requisite patience in putting up with the challenges of both leave us precious little energy to actually photograph, document, and then write about it. This is a challenge that I have felt personally, despite writing coming easily to me.
And so I applaud you for not only your build, which is truly remarkable, but for taking the time to share your story with us.
Sincerely,
TJ Noto